
This Guide shows how to cut a chicken carcass into breast with ribs, wings, thighs with back, and drumsticks.
You can save from 5 to 10 cents per pound if you cut up your own
broiler-fryer chickens. There are two basic ways of cutting the chicken carcass. This guide shows how to cut the carcass into breast with ribs, wings, thighs with back, and drumsticks.
Cut the bird using clean knives, utensils, cutting board and hands. Keep tools clean to prevent cross contamination of food with spoilage or disease germs. Do not keep the carcass out of the refrigerator for more than 20 minutes.
Frozen poultry will keep for 6-8 months in freezer storage. Clean, fresh cut parts will keep for two days at 40°F. Rewash before freezing if not cooked within two days.
 |
 |
 |
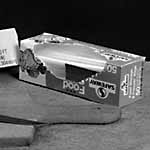
| 1. Equipment and materials: Knife, easily cleaned cutting board, freezer bags, paper or foil. |
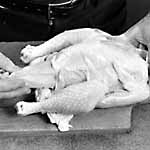
2. Remove from wrapper, take out giblets and wash the carcass when brought from the store. |
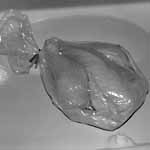
3. If necessary, store in a clean bag at 40-45°F for no more than two days. |
 |
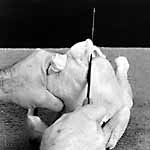 |
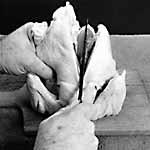 |
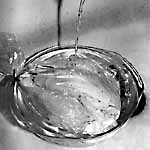
| 4. If the carcass is frozen, thaw in the refrigerator for 24-48 hours. If speed is necessary, thaw in running cold water or microwave oven (according to maker’s instructions) until muscles are soft and joints are movable. |
5. To cut, stand the carcass on its neck with the back toward you. Hold the carcass firmly by the thigh, pressing down to keep the bird on the cutting board. Place knife edge beside the tail on the side opposite your holding hand. |
6. Open the back with a vigorous cut down the side of the back bone. It helps if you angle the knife slightly toward the spine as you cut through the ribs. Do this with enough strength so that it takes only one or two strokes of the knife to split the back. |
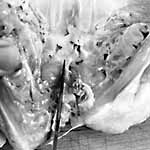 |
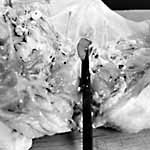 |
7. Lay the chicken on its breast, front toward you. Spread the back open. The front opening to the body cavity forms a V from the wing joints to the front of the keel bone. At the bottom of the “V” you will see a white cartilage. Cut through the cartilage to the bone. |
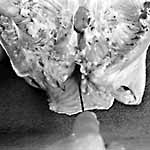 |
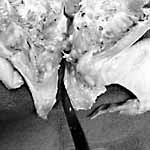 |
8. Cut the neck skin flap down the center. Punch the knife through the skin at the point where you cut the breast cartilage. Cut to the front of the flap. |
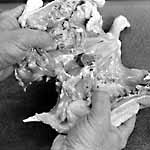 |
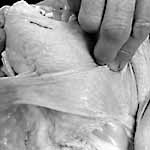 |
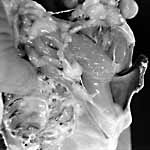
9. Pull or cut the carcass into halves. Take each wing and breast in hand and place your first and second fingers on the front tip of the keel bone. |
 |
 |
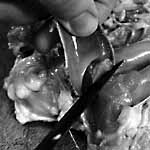 |
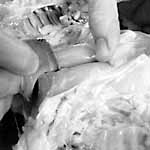
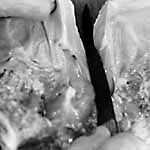
| 10. Push down on the wing joints with the heel of each hand and at the same time push up on the keel with the fingers. This will pop the keel away from the breast muscle. |
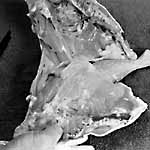
11. Carefully remove the keel bone. The edges are sharp. You may want to cut the front of the bone from the muscle. |
|
 |
 |
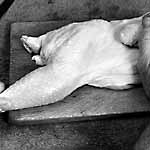 |
| 12. Holding the breast and wings, and the split skin flaps in either hand, separate the breast with a sudden strong pull. |
13. If you prefer, cut the breast in half. Start at the rear of the keel cartilage and cut toward the front of the carcass. |
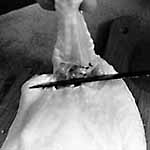
14. Position one half, skin side up and stretch the leg to the rear. |
 |
 |
|
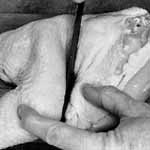
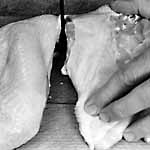
| 15. Remove the wing. Hold the first joint of the wing straight up from the carcass. Cut through the wing joint at a 45° angle. |
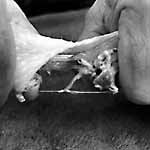
16. Cut the half into quarters. Pressing down firmly, stretch the skin between the breast and thigh. Start at the rear tip of the keel, cut toward the backbone just in front of the thigh. |
|
 |
 |
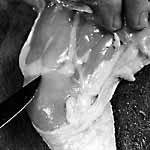
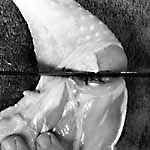
17. The half with the spine will need some effort to separate the quarters. Use the knife to cut to the bone. Pick up the partially cut quarters, break the bone, and pull them apart. |
 |
 |
|
| 18. Separate the thigh and drumstick. Place the leg skin side down. Look for the fat seam across the thigh joint above the drumstick. |
19. Cut off the drumstick just below the fat seam. |
20. Repeat steps 13 – 19 with the other half. |
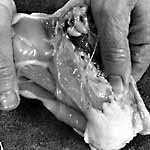 |
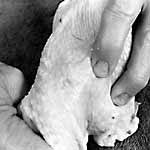 |
21. Pop out the hip joints of the thighs so they will cook easier. Hold the thigh with the backbone in one hand and thigh bone in the other, skin side down. Position fingers to push up on the hip joint. |
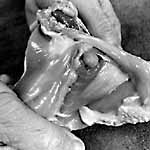 |
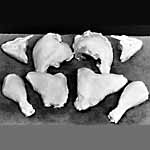 |
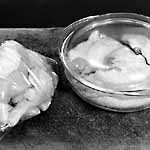 |
| 22. Press down with both hands while pushing up with the fingers on the hip joint. This completes the cutting process. |
23. The parts are 2 breasts with ribs, 2 wings, 2 thighs with backbone, and 2 drumsticks. A wing and drumstick make a serving. All other parts are single servings for a total of six. |
24. Rewash each part, and drain. If the bird is to be frozen, package it in clean plastic bags, freezer paper or foil and freeze immediately at 0°F or below. Otherwise put it in a clean covered dish and refrigerate at 40-45°F for no more than two days. |
If the ribs, back and neck are not cooked with the other parts, make soup
stock. Strip the meat from the bones for use in soup, casseroles, salads or
sandwich spread.
Cut the bird using clean knives, utensils, cutting board and hands. Keep
tools clean to prevent cross-contamination of food with spoilage or disease
germs. Do not keep the carcass out of the refrigerator for more than 20 minutes.
Frozen poultry will keep 6-8 months in freezer storage. Clean, fresh cut
parts will keep for two days at 40-45 °F. Rewash before freezing if not cooked
within two days.
 |
 |
 |
| 1. Equipment and materials: Knife, easily cleaned cutting board, freezer bags, paper or foil. |
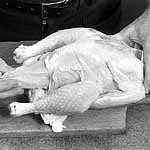
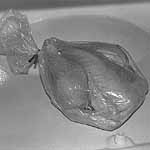
2. Unwrap, remove giblets and wash the carcass when brought from the store. If necessary, store in a clean bag at 40-45 °F for no more than two days. |
|
 |
 |
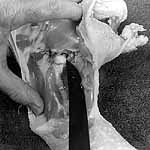 |
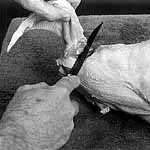
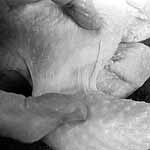
| 3. To cut, lay the carcass on its side. Hold the first joint of the wing straight out from the body. Cut the wing, at a 45 °angle, through the shoulder joint. Repeat on the other side. |
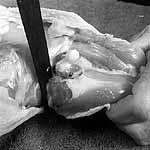
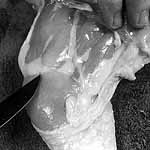
4. Remove the legs. Put the carcass on its back. Stretch the skin between the breast and leg with thumb and fingers. Cut the skin fully to expose the hip joint. |
|
 |
 |
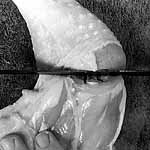 |
| 5. Starting at the rib cage, cut through the hip joint removing as much meat as you can from the back. Repeat on the other side. |
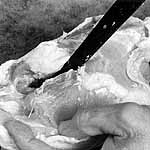
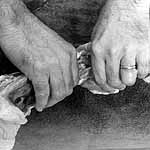
6. Put the leg skin side down. Find the fat seam across the leg just above the thigh-drumstick joint. Cut the joint below the fat seam. Repeat on the other leg. |
|
 |
 |
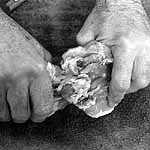 |
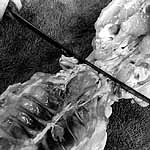
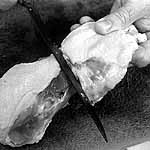
| 7. Put the carcass on its side. Insert the knife into the body cavity just behind the shoulder. Cut through the ribs on a line toward the rear tip of the keel. Repeat on the other side. |
8. Carefully take the back and breast in either hand. Press outward and break the shoulder joints. |
|
 |
 |
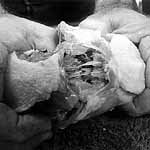 |
| 9. Pull and cut the joints apart. | 10. Place the back skin side up. Cut in front of the last ribs and across the back. |
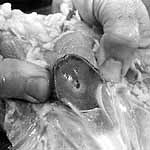
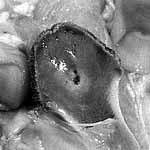
11. Break the back, pull and cut into two pieces. |
 |
 |
|
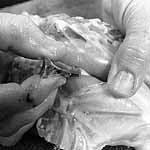
| 12. Split the breast in half. Hold the shoulder joints in either hand with the finger tips on the keel. |
13. Press down on the shoulder joints, push up on the keel, and pop out the keel bone. |
|
 |
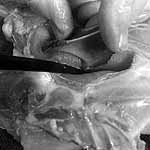 |
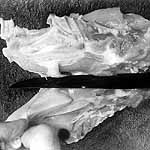
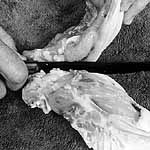
14. The edges of the keel are sharp. Hold the keel carefully. Pull it forward and cut it loose from the breast muscle. |
| 15. Place the breast skin side down. Starting at the rear, cut it in half. The wishbone is in front. Break or cut it. This completes the cutting process. |
 |
 |
 |
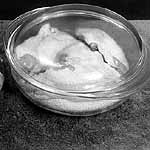 |
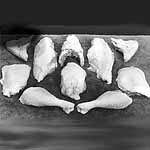
16. The parts are breast, wings, thighs, drumsticks, ribs and back. Rewash each part and package in clean plastic bags, freezer wrap, or foil. Freeze immediately at 0°F or below. |